
Artificial grass is becoming one of the most popular choices for homeowners who want a lush green lawn without the constant maintenance. Whether you’re covering soil, concrete, decking, or even a balcony, understanding artificial grass how to install properly is the key to achieving a professional finish that will last for years. This guide is designed for beginners who want clear steps, useful tips, and confidence to start their own DIY project.
Why Learn Artificial Grass How to Install
Artificial grass provides numerous benefits compared to natural grass. It stays green all year, reduces water consumption, and requires very little upkeep. By learning artificial grass how to install, you will:
• Save on professional installation costs
• Customize your outdoor or indoor space exactly as you want
• Ensure long-term durability and stability
• Avoid common problems such as bumps, wrinkles, and poor drainage
Tools and Materials You Will Need
Before starting, it is essential to prepare the right tools and materials. For a successful project, you will typically need:
• Artificial turf rolls cut to size
• Utility knife or heavy-duty scissors
• Measuring tape and chalk line
• Turf adhesive or seaming tape
• Weed barrier or geotextile fabric
• Base materials such as crushed stone, gravel, or sand
• Compactor or tamper
• Turf pins, nails, or staples
• Broom or stiff brush
• Optional infill (silica sand or rubber granules)
Step-by-Step Guide: Artificial Grass How to Install
Step 1: Prepare the Ground or Surface
Clear the area where the turf will be installed.
• On soil: Remove existing grass, weeds, roots, and topsoil.
• On concrete or paving: Clean thoroughly and repair any cracks.
• On decking or rooftop: Add an underlay or drainage mat for stability.
Step 2: Install a Weed Barrier
Lay down geotextile fabric to prevent weeds from growing through the turf. This is especially important when working with soil.
Step 3: Build the Base Layer
Spread a layer of crushed stone or granite over soil and compact it well. For concrete, apply a thin leveling layer if needed. A solid, stable base is the foundation of a smooth lawn.
Step 4: Fine Leveling
Add a thin layer of sharp sand or dust and spread it evenly. This final grading ensures there are no bumps or uneven spots under the turf.
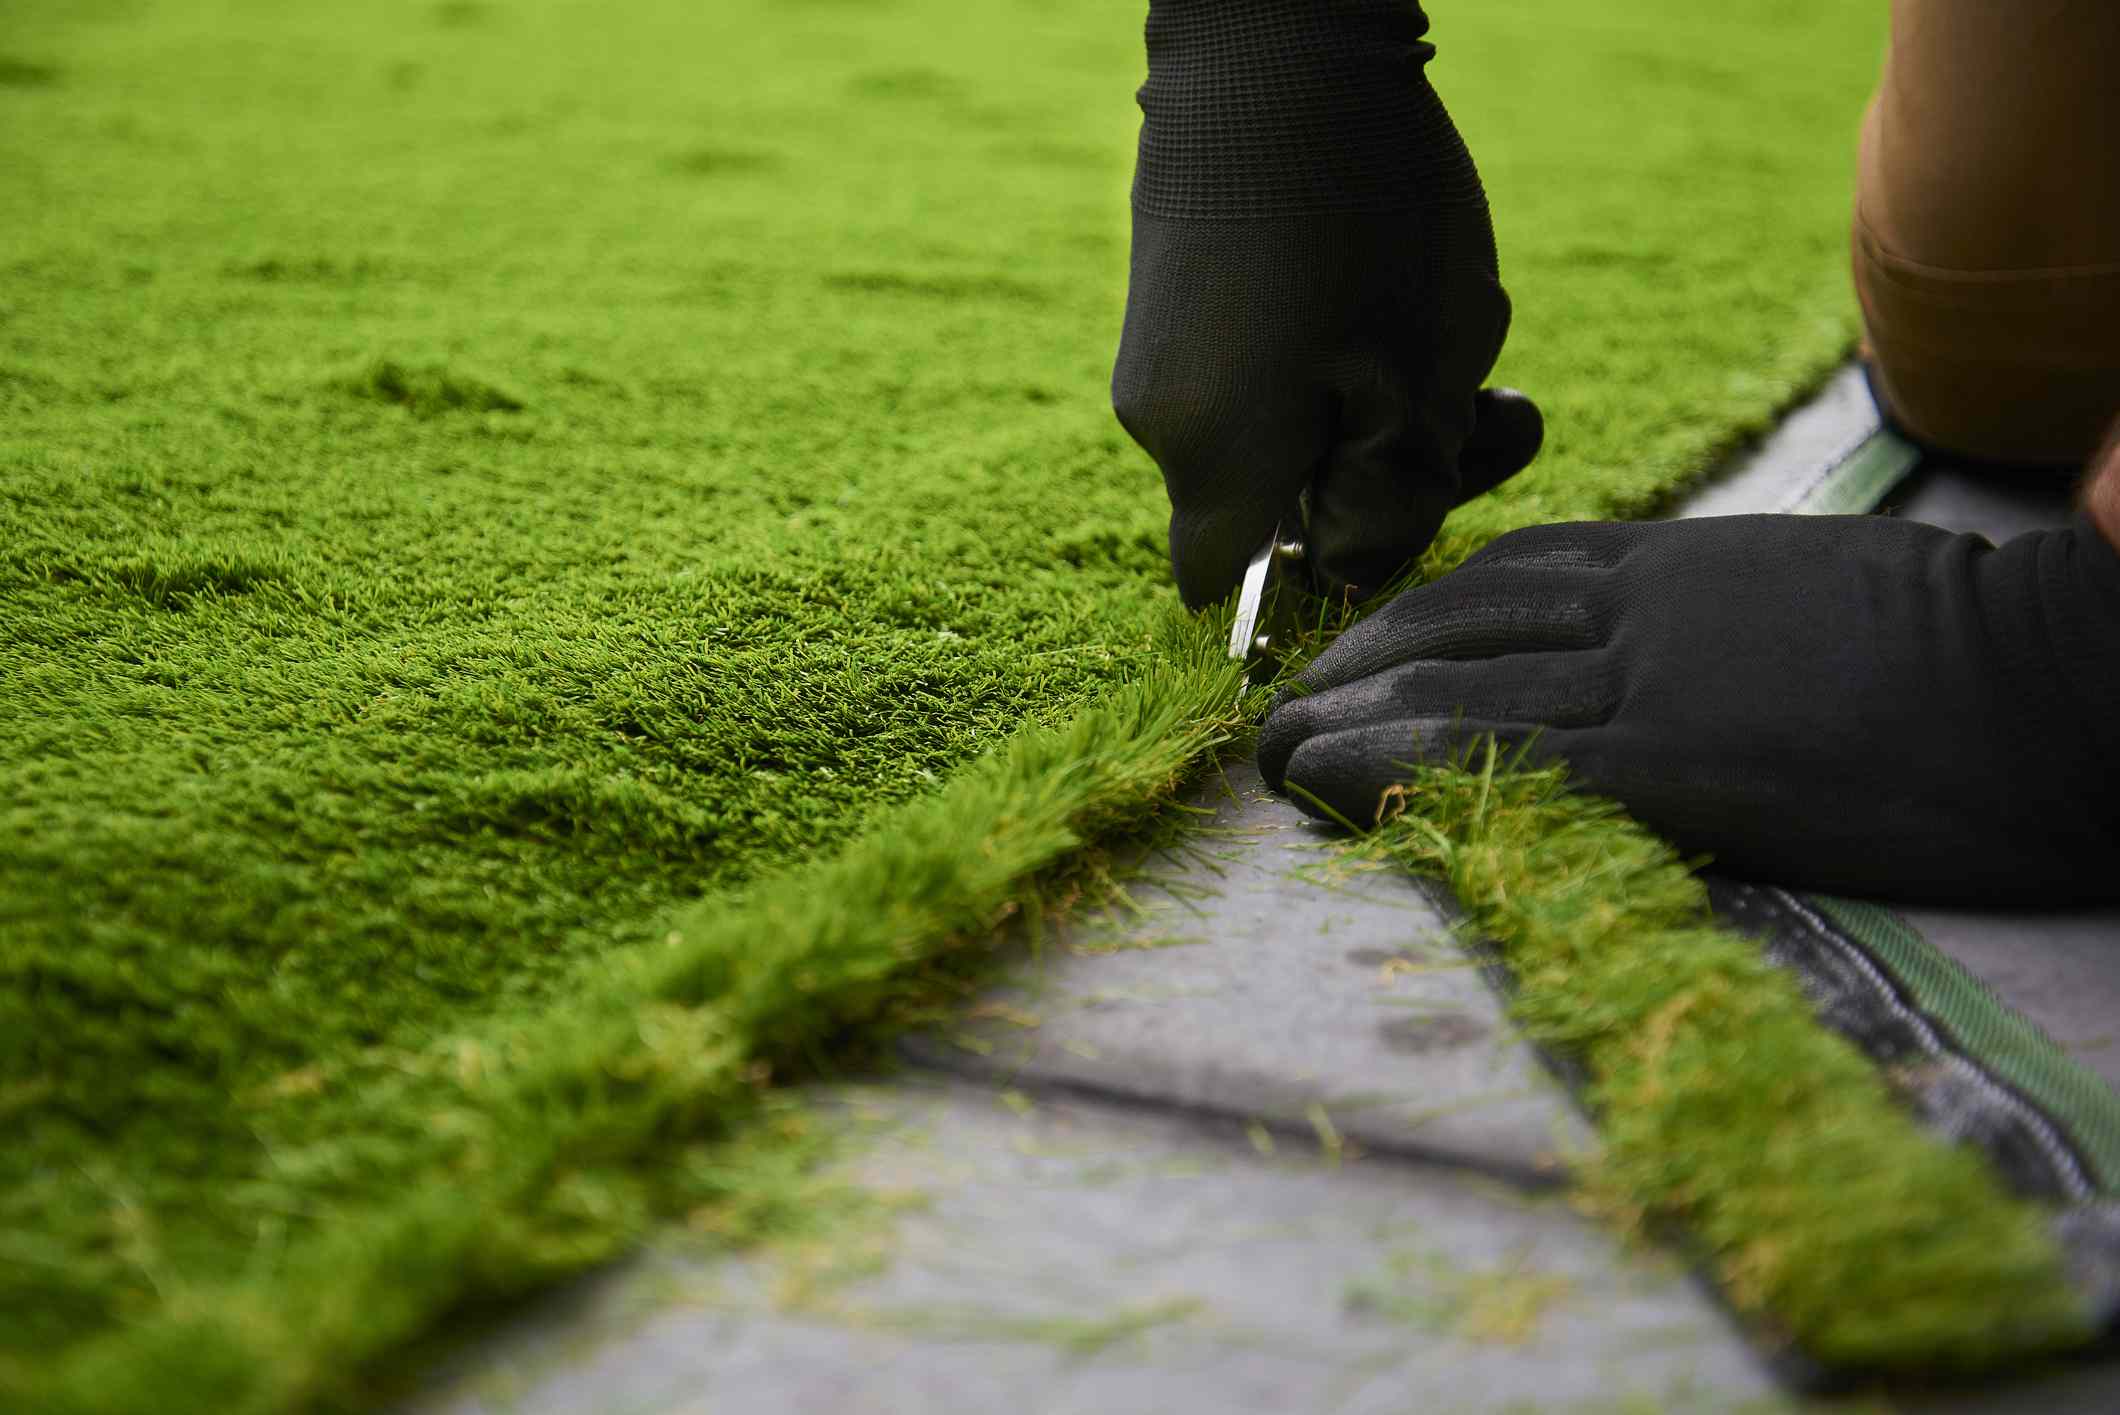
Step 5: Roll Out and Cut the Turf
Unroll the artificial grass and leave it to relax for a few hours. Make sure the fibers all run in the same direction. Use a sharp utility knife to cut edges accurately.
Step 6: Join the Pieces
When installing multiple rolls, use seaming tape and adhesive to join them. Ensure that seams are tight and invisible for a natural appearance.
Step 7: Secure the Turf
• On soil: Fix the turf around the edges using nails or turf pins every 15–30 cm.
• On concrete or decking: Use adhesive or screws with washers if necessary.
Step 8: Add Infill and Brush the Turf
Spread infill evenly across the turf and brush it in with a stiff broom. This step keeps the grass blades upright, improves drainage, and increases durability.
Special Considerations for Different Surfaces
When thinking about artificial grass how to install, remember that each surface requires a slightly different approach:
• On soil: Focus on proper compaction and drainage.
• On concrete: Ensure water runoff and use adhesive for fixing.
• On decking: Add rigid underlay or drainage boards to avoid movement.
• On rooftops: Protect waterproofing layers and distribute weight evenly.
Common Mistakes to Avoid
Many DIY installers make simple mistakes that reduce the quality of the final result. Avoid the following:
• Not compacting the base enough, leading to dips and uneven areas
• Forgetting the weed barrier, which allows weeds to grow through the turf
• Misaligning turf fibers, which makes seams more visible
• Using too few pins or nails, causing edges to lift
• Skipping infill when it is required for support
Maintaining Your Artificial Grass
Once you’ve completed your artificial grass how to install project, maintenance is easy:
• Brush the fibers regularly to keep them upright
• Rinse the turf to remove dust, dirt, and pet waste
• Remove leaves and debris to keep the surface clean
• Add more infill if the lawn starts to feel loose over time
Final Thoughts
Completing a DIY project of artificial grass how to install step by step is an achievable task for any homeowner with the right preparation. The keys to success are a solid base, careful seam joining, and proper anchoring. Once installed, your new lawn will provide a beautiful, evergreen surface that requires minimal maintenance and looks stunning year-round.